


DataList - A Custom HTMLHelper (C#)
- Jan 16, 2018
- 2 min read

Namespaces:
• System.Web
• System.Web.MVC
• System.Linq.Expressions
• System.Text
Intro:
Building a Custom HTML Helper in an MVC Application can be fairly tasking and, at the same time, fun.
To establish a general understanding of what a DataList is, let's look at its structure:
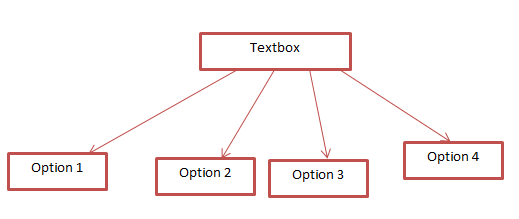
I like to think of a datalist as a combination of a drop-down menu with the personality of a textbox.
A DataList comprises of an input tag; like a textbox, and datalist tag. The input tag displays the text-field, while the datalist tag serves as a collection of options. Behind the scenes is a validation process. As users type in the input box, each option pre-populated on the form go through a screening process. Those that match the data inputted in the textbox remain, while others are hidden from the list of options to choose from.
Body:
First we need to create a class to store our Custom Helpers; I called this class - Custom.HtmlHelpers.cs
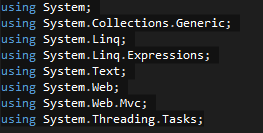
Make sure to add the following namespaces to your class:
Next, let's build the Input Tag -
Here I am creating a new Public Interface IHtmlString called InputListfor, I am also passing in 4 parameters. Each parameter is used to build attributes for the Input element. I add my attributes individually using function - input.Attributes.Add.
As an extra treat I added an onchange function which, in this case, I decided to enable a submit button when the event of changing the value of my input is fired through the Event Listener. When complete, the attributes are appended and rendered through a string initializer.
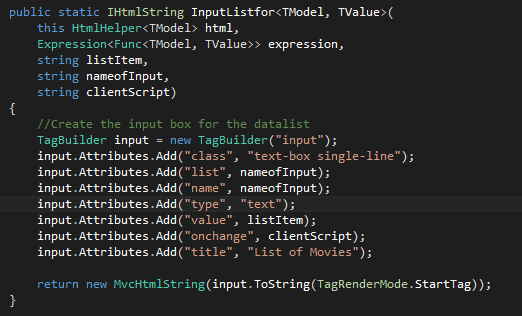
class CustomHtmlHelpers { public static IHtmlString InputListfor<TModel, TValue>( this HtmlHelper<TModel> html, Expression<Func<TModel, TValue>> expression, string listItem, string nameofInput, string clientScript) { //Create the input box for the datalist TagBuilder input = new TagBuilder("input"); input.Attributes.Add("class", "text-box single-line"); input.Attributes.Add("list", nameofInput); input.Attributes.Add("name", nameofInput); input.Attributes.Add("type", "text"); input.Attributes.Add("value", listItem); input.Attributes.Add("onchange", clientScript); input.Attributes.Add("title", "List of Movies"); return new MvcHtmlString(input.ToString(TagRenderMode.StartTag)); }
Now we need to build the DataList Tag. Similar to the InputListfor, I have named my Interface method for building the Datalist tag DataListInputFor. This method only accepts 1 parameter which is the Id attribute.

public static IHtmlString DataListInputFor(this HtmlHelper helper, string id) { //create the datalist tags TagBuilder dl = new TagBuilder("datalist"); dl.Attributes.Add("id", id);
//Create the item in the datalist List<string> data = new List<string>();
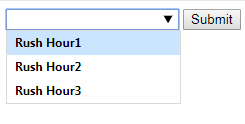
//Add items to data List data.Add("Rush Hour1"); data.Add("Rush Hour2"); data.Add("Rush Hour3");
//create options List List<string> options = new List<string>();
foreach (var d in data) { TagBuilder opt = new TagBuilder("option"); opt.Attributes.Add("value", d.ToString()); options.Add(opt.ToString(TagRenderMode.StartTag)); } string joineditems = string.Join("", options.ToArray()); dl.InnerHtml = joineditems; return new MvcHtmlString(dl.ToString(TagRenderMode.Normal)); }
Conclusion:
Lastly, we build the Razor tag in our View.

Fire-off your application and view the results -
Comments